Guide · 6 min read
How to photograph clothes for AI model photos
An AI model photo can only be as good as the garment photo you give it. The model copies what it sees: the colour, the logo, the collar, and also the mistakes, like a shadow, a white edge or a stranger's arm.
This is the checklist we use when we test Foldrise. Most of it comes from real results that went wrong and the one input change that fixed them.
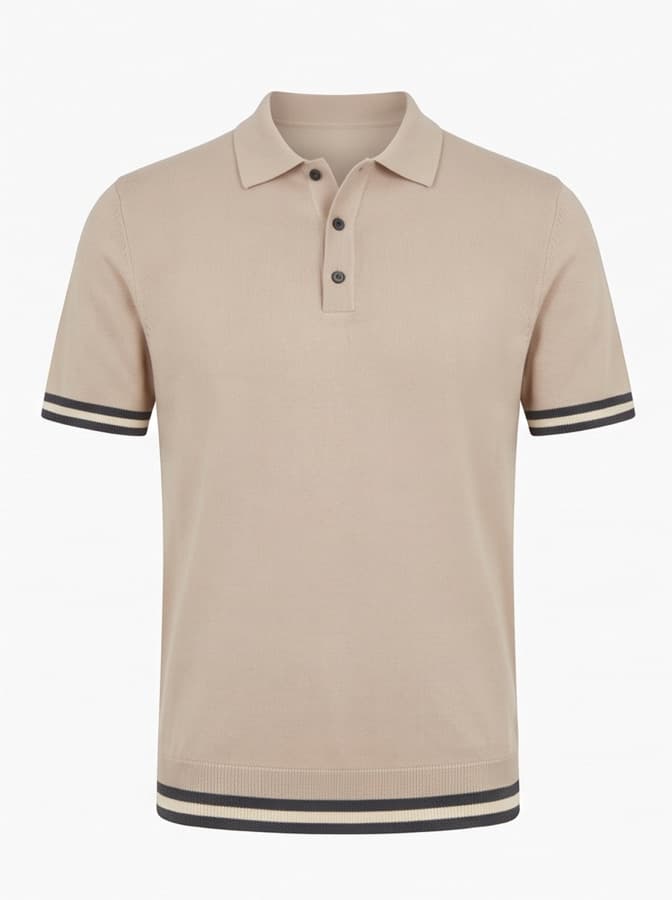
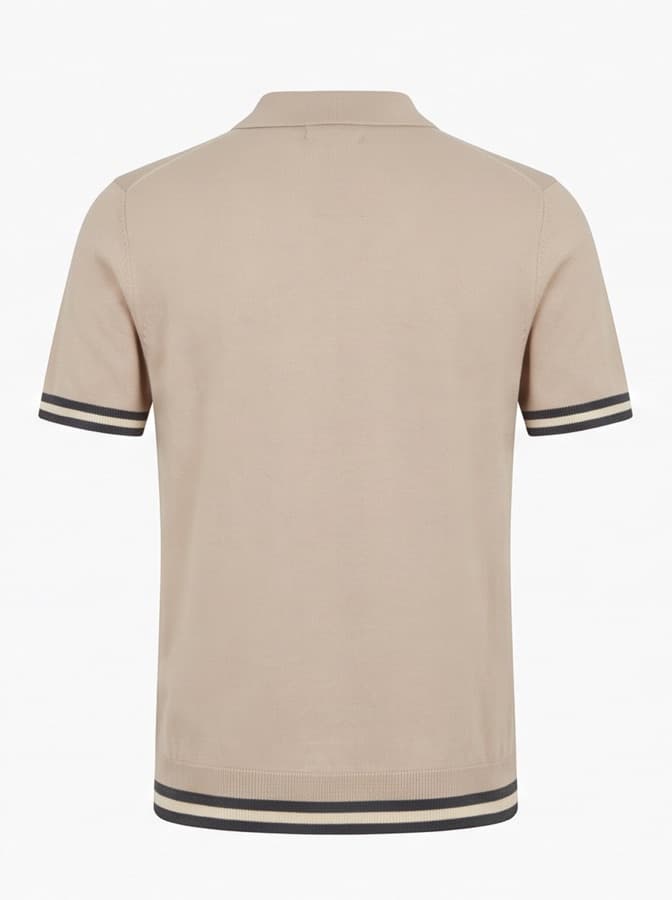
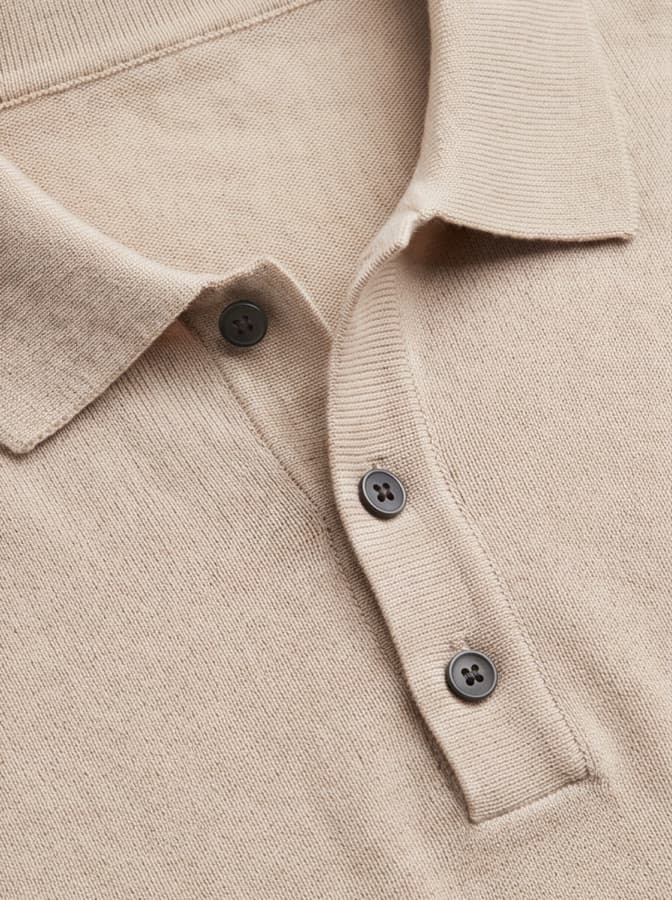
1. Photograph the garment on its own
A flat lay, a hanger shot or a ghost-mannequin photo is best. If the garment is worn by a person in your photo, the AI has to separate the clothes from that person, and parts of them (skin, hair, a hand) can leak into the result.
Spread the sleeves, straighten the hem and make sure the whole garment is in the frame, including the collar.
2. Use soft, even light and true colour
Daylight from a window or two soft lights works well. Avoid hard shadows across the fabric: the AI may read a shadow as part of the print.
Dark garments need more light, not less. A black tee photographed in dim light loses its texture, and the result can come out flat or dark grey. Light it so you can still see the seams and the knit.
3. Keep the background plain, and watch cut-out edges
A plain white or light grey background is ideal. If you cut the garment out in an editing app, check the edges: a thin white halo along a hem can show up in the final photo as a light line where the trousers meet the shoe.
4. Add the back and a close-up when they matter
If the garment has a back print, a back logo or a different back design, add a photo of the back. For embroidery, small logos or textured knits, add a close-up of the fabric. These extra photos give the AI the details it cannot guess from the front.
5. Match the garment to the pose
Some poses need a specific garment detail. The Collar Pinch pose needs a real collar to hold: with a crew-neck tee the hand has nothing to pinch and drifts to the chest. Poses with a hand in a pocket look most natural with trousers or shorts that have pockets.
Browse the pose library to see what each pose shows best.
6. Use a clear model photo you have permission to use
- Face the camera with the whole face visible: no sunglasses, no hand over the face, hair as you want it to appear.
- Use even light on the face. The result keeps the skin tone and hairstyle from this photo.
- Only use yourself or a model who has agreed to it. Photos of public figures, minors or anyone who has not consented are not allowed.
7. Save as JPG or PNG
iPhones save photos as HEIC by default, which many browsers cannot open. Either open Foldrise in Safari on your iPhone or Mac, or switch the camera to JPG in Settings → Camera → Formats → Most Compatible. Photos around 1,500 pixels or larger on the long side keep logos and fine prints sharp.
Quick checklist
- Garment alone: flat lay, hanger or ghost mannequin, whole garment in frame.
- Soft, even light; extra light for black and navy.
- Plain background; no white halo on cut-out edges.
- Back photo for back prints; close-up for logos and texture.
- Pose fits the garment (collar for Collar Pinch, pockets for pocket poses).
- Clear, front-facing model photo, used with permission.
- JPG or PNG, about 1,500 px or larger.